QA/TDAI/Mozmill/IDE
Contents
Getting Around the Mozmill IDE
The Mozmill tool includes an IDE (integrated development environment) to help write, run, and debug tests. It's all quite straight forward but we thought we'd take a chance to go through the interface and explain a couple of the more interesting panels.
Mozmill Editor
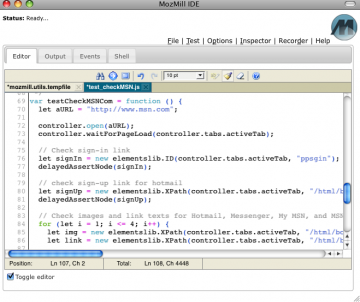
I assume you've installed Mozmill; if not, head over to Add-Ons to download the latest build, install it, and restart. From the "Tools" menu, click "MozMill" to open the MozMill IDE window. The "Editor" tab is a typical text editor interface, complete with syntax highlighting and your normal functionality like copy and paste. You can open a file for editing from the File menu.
Mozmill Inspector
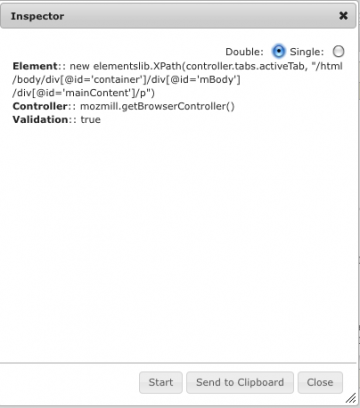
Available from the "Inspector" menu, the Mozmill Inspector is a tool that helps you discover how to access various elements in your application. Once the Inspector window (shown below) appears, you can click on any element of your application window and the inspector will display three items of information:
- Element - this is the elements lib statement needed to instantiate an elementslib object for the element that you clicked on. (the element is surrouded by a blue box in your UI). Either double clicking the element or single clicking the element (based on the setting of the radio button in the top right corner) will copy this statement to the clipboard so that you can paste it into your test.
- Controller - this shows you the controller that you will need in order to access that element.
- Validation - Mozmill checks to see if it can obtain the element using the above expressions and reports the result of that test here. If it should ever say "False" that is a bug.
Mozmill Recorder
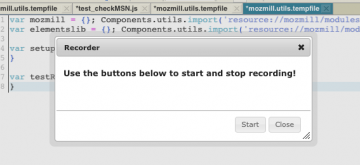
The Recorder allows you to record a test from your own actions. To activate it, click on the "Recorder" link. Everything you do on the browser will be tracked; note the "click" notifications in the editor window. When you've finished your test, click "stop recording". Now if you run the test as recorded it will fail, because the test will happen much faster than the respective pages and UI will load. To remedy this, you'll need to augment your recorded test with different wait statements so that you can slow down the test so that the UI can catch up with you. Be sure to change the name of your test from "testRecorded" to something that describes what you're doing.
Mozmill Output
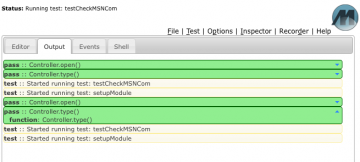
The Output tab is where the results of your test are displayed. They are color coded as well: green for pass, pink for fail, etc. You can click on any line in the output window to expand it and get more information about that particular test step.


