Tools:SNavigator
Jump to navigation
Jump to search
Note: This document is still in the draft state. I hope I can finish it within one day or two if I have more time. ;) --Kennykaiyinyu 19:04, 10 June 2008 (PDT)
In Ubuntu
Execute the following line in a terminal window:
sudo apt-get install sourcenav
This should install source-navigator. One can check whether the installation is complete by executing:
$ which snavigator
/usr/bin/snavigator
Importing the source
In Ubuntu
- Execute the following:
snavigatorThis triggers a splash screen, followed by a "Source-Navigator Projects" dialog as the following: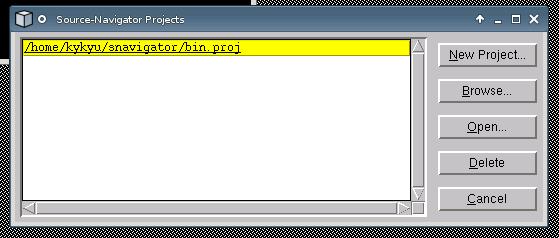
I've already created a new project bin.proj before documenting this. If this is your first time to open source navigator, the big white box on the left of the dialog should contain no lines. - Click "New Project". This shows the "Auto-Create Project" dialog which allows you to decide your filename of the project file (which ends in .proj) and your source directory/directories that you want to import into the project. (You can always include more by pressing the "More" button.)
- In my case, I inputted the followings:
- Project File:
~/snav-mozilla - Add Directory (where your source files reside in -- I understand that the label here is not so self-explanatory...):
~/moz1.9/mozilla
(because I saved my source at ~/moz1.9/mozilla.)
- Project File:
- In my case, I inputted the followings:
- Remember to ensure that "Include Subdirectories" and "Build Cross-reference database" is checked.
- Then click "OK". The snavigator then begins to scan your source directories. This takes a few minutes.
